What is kefir?
It’s really good for you is what it is.
That’s the easiest answer to this question.
There is, of course, more to it.
Kefir is a superfood and probiotic that has numerous beneficial yeasts and bacteria as well as enzymes, proteins, minerals and vitamins. This makes it a magic health potion, especially for your gut health (which is the fairy godmother of your immune system, which is the not-so-secret secret to living an optimal, good quality life).
Why is ready-made kefir bought in stores not as good as kefir made from grains?
As the kefir is eating the milk sugars, it farts out gasses = expanding kefir inside a sealed container = explosion.
So mass kefir producers need to manage this by pasteurizing the kefir before filling it into their little sealed containers. By pasteurizing the kefir they manage to stop any expansion but also manage to kill off a sizable portion of the good bacteria in the process.
Kefir sold in stores also usually contains sugar, preservatives and all the other nasties that are just plain unhealthy (not to mention unnecessary) for you. There is a lot more that could be added to the above but I’m keeping it short here to focus on the ‘how’.
Solution: Make your kefir at home yourself using kefir grains – it is ridiculously easy, much cheaper than buying it and so worth it.
How to make your own kefir at home?
First step: Obtain kefir grains. You can order them online or post it on FB and see if any of your friends have some.
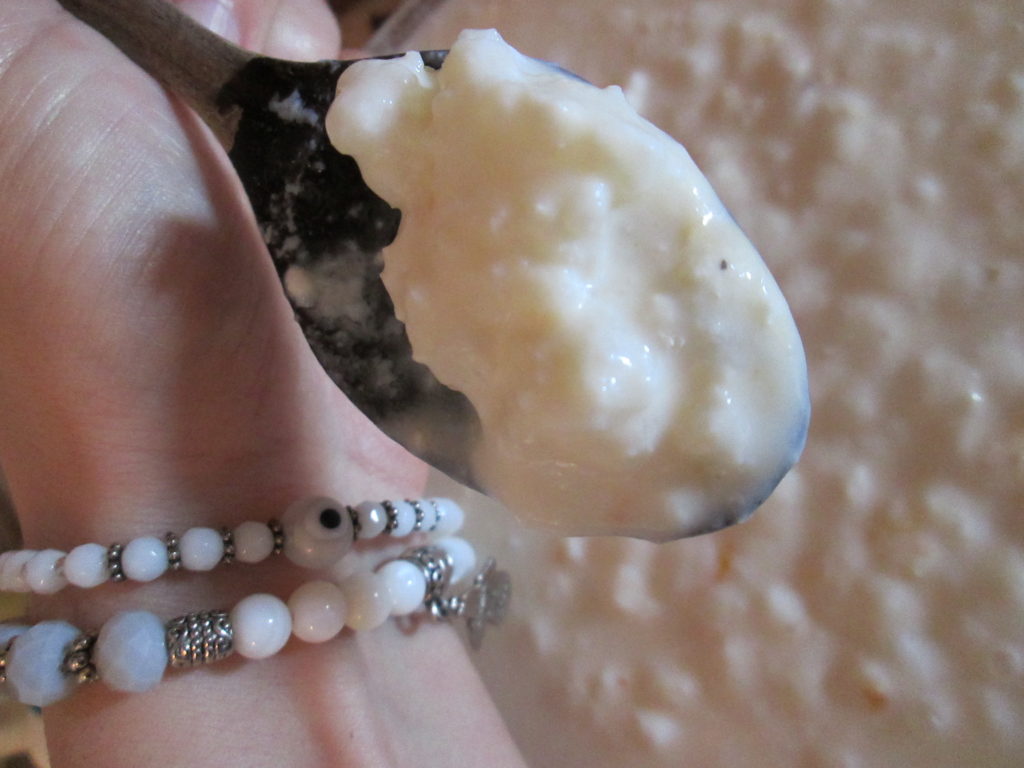
This is what it looks like: Kinda like popcorn and cauliflower fell in love and had a baby and out came kefir covered in goo.
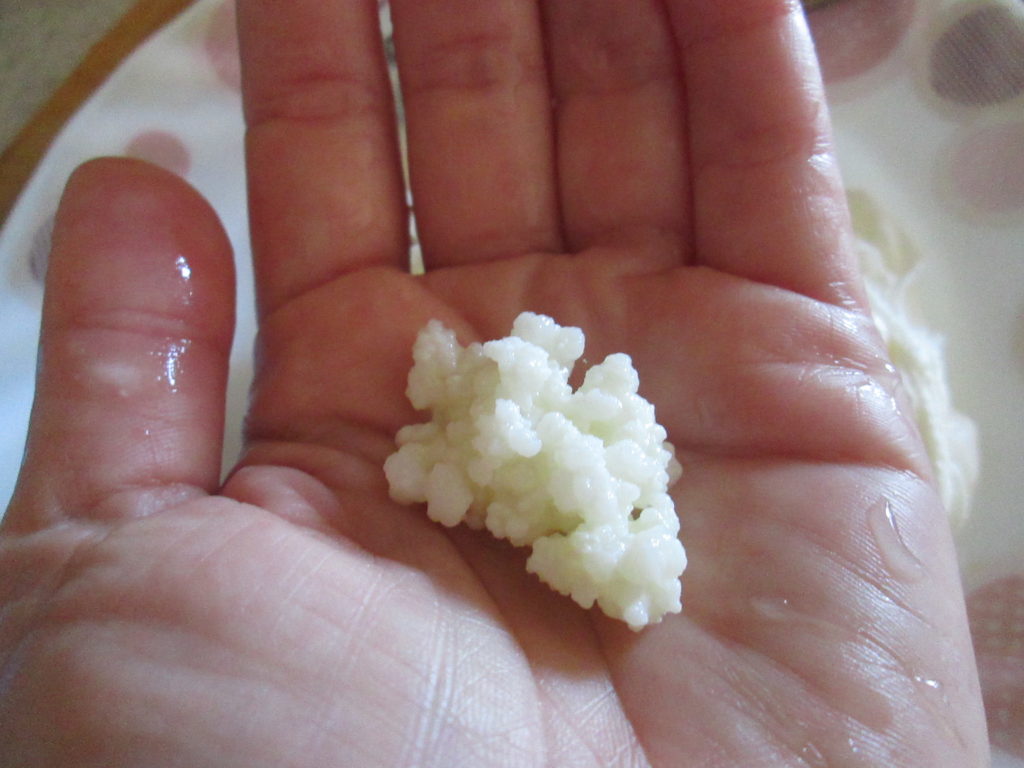
This is what it looks like rinsed off, just to give you a clear idea.
How much kefir grains should be added to the milk?
This depends on how cold or warm your kitchen is but I usually add about 2 heaped tablespoonfuls into about 1 liter of milk. You will probably have to tweak this depending on your grains and milk.
Tip for when you first get your grains: When you first receive your kefir grains, you will probably have about a tablespoonful. Start them out in about half a glass of milk until they get used to the milk you use and they start to thrive and grow.
How to make kefir using grains?
Tip: Do not use any kind of metal on your kefir. Although stainless steel is supposed to be fine to use, as long as contact is minimal, I opt for complete safety and will only use glass containers and wooden spoons.
The easy steps to making kefir at home:
- Take kefir grains & put them into a glass container (I will explain my kefir-bag in a minute).
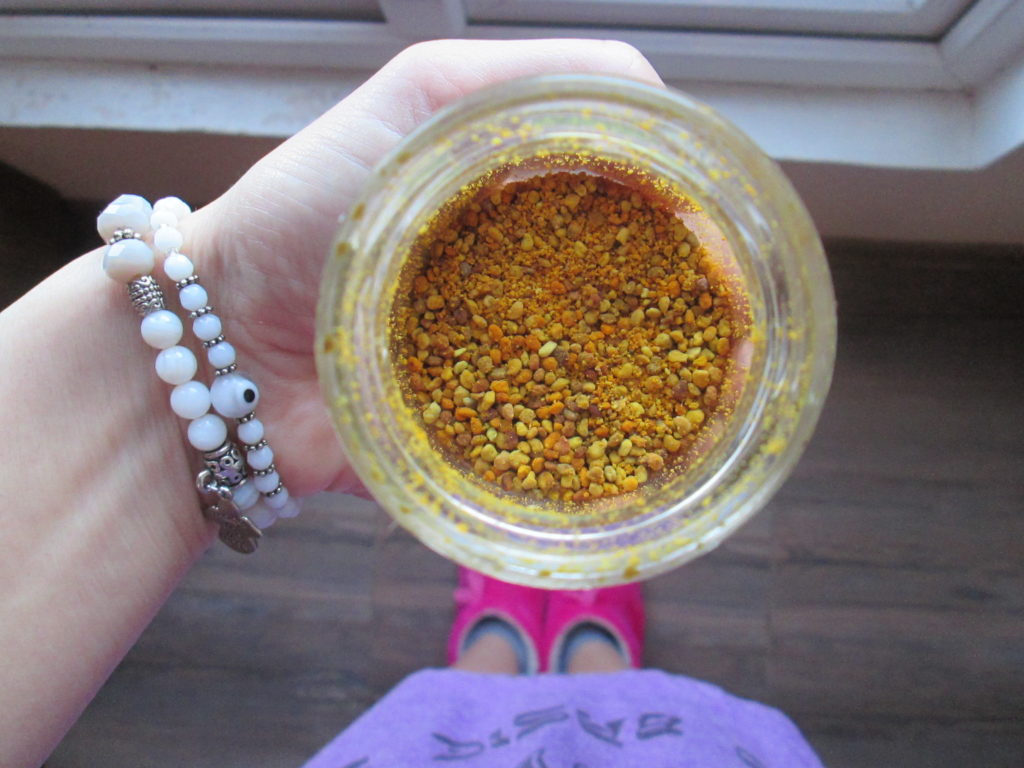
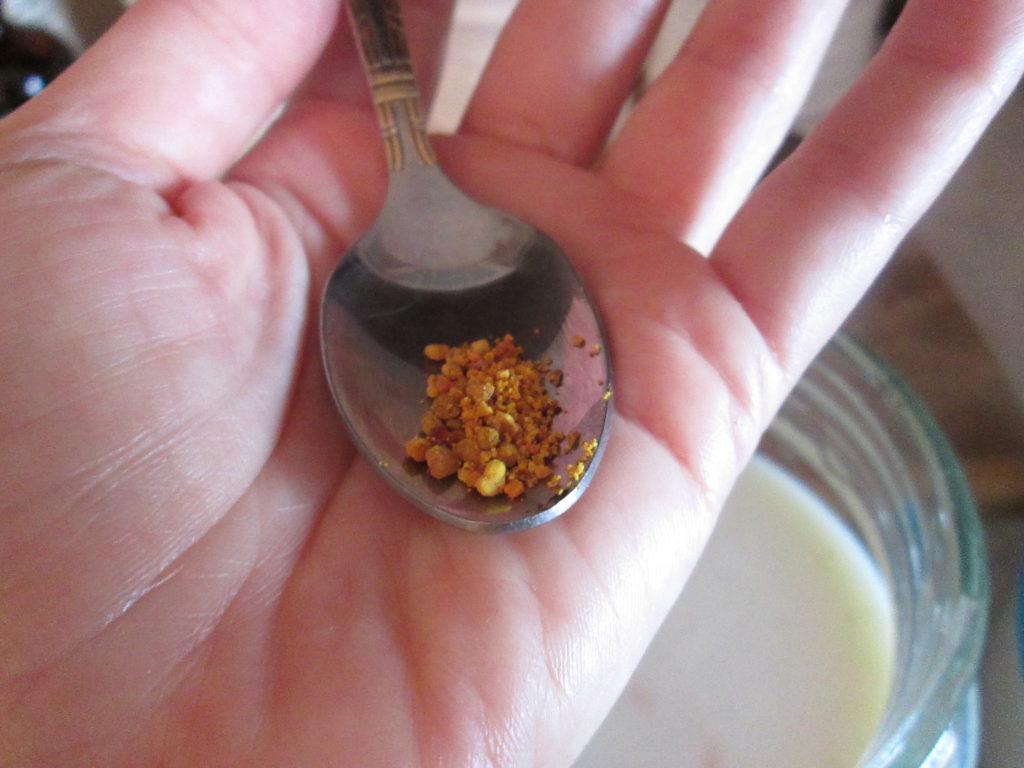
- Add milk & sprinkle bee pollen (bee pollen is optional).
- Do not seal it with an airtight lid. Use a small towel as the fermentation will produce gasses that need to get out and fruit flies will try to get in.
- Keep the container in room temperature, away from direct sunlight.
- Let it ferment for 24 hours (or a day longer depending on the temperature in your kitchen, as it cultures faster in warmer temperatures, and how tangy you like your kefir).
Congratulations – your milk has now been transformed into kefir! Time to remove the kefir grains from the kefir. After removing the grains, you can then place your kefir in the fridge or leave it outside for a tangier taste.
How to remove kefir grains from kefir? (Please see the update at the bottom of the post for this method)
Most people use a strainer for this. I tried many different types of strainers but found it was a pain in the butt and just plain time consuming to keep trying to coax the kefir through the strainer with a wooden spoon whilst trying to be gentle with my precious grains.
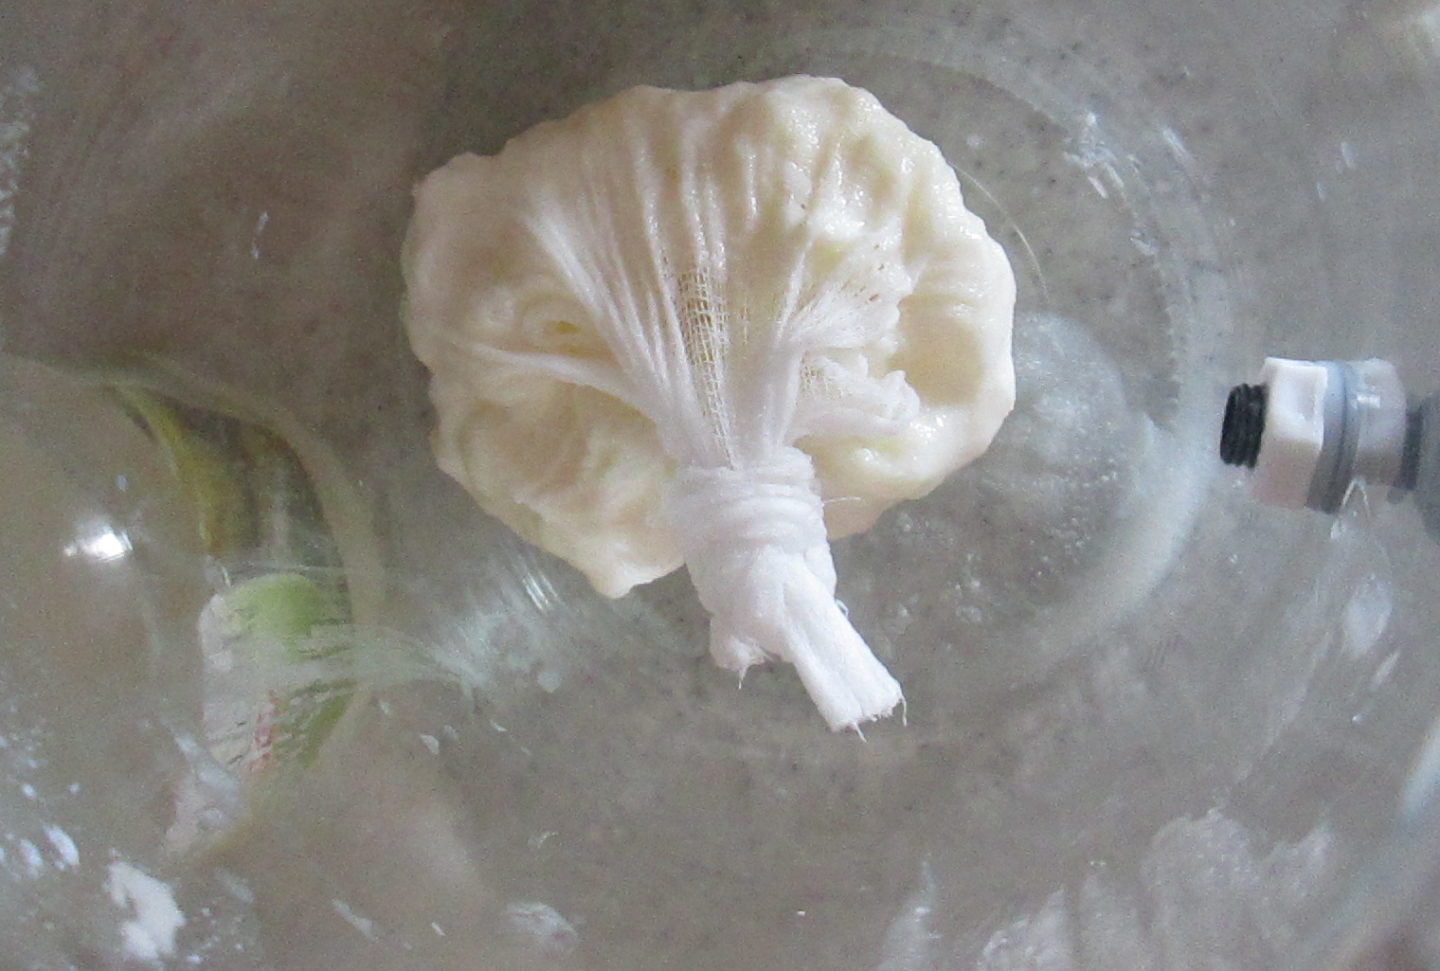
Solution: I figured tea-bags are good enough for tea, why not make a tea-bag equivalent for kefir?
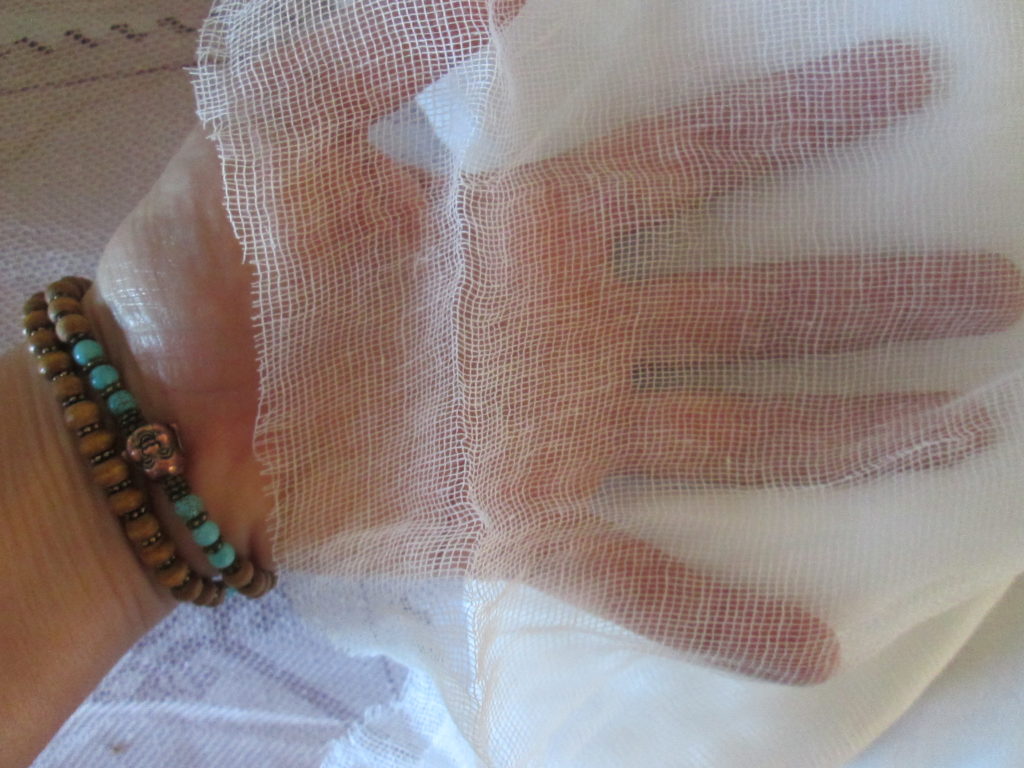
Buy 100% cotton medical gauze with no chemical treatment on it (cheesecloth might work too) and cut out a square. I ran the gauze through boiling water first to make sure it’s sparkling clean – which it usually is anyhow so that it can be safely used on wounds.
Tie the opposite corners up and make sure that the kefir is not squished and has a few centimeters of space all around it so it can grow comfortably as it ferments. Make sure there are no holes from which the grains can float out of.
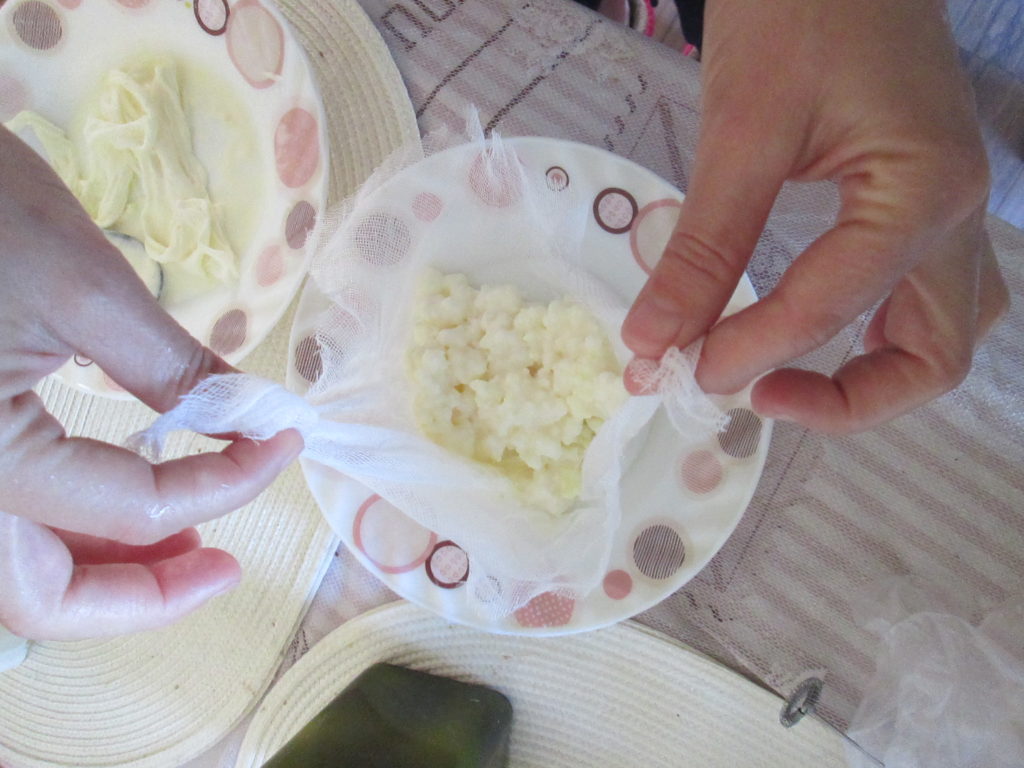
In other words, it should look like a saggy testicle.
Did I just say that? Yes, I did.
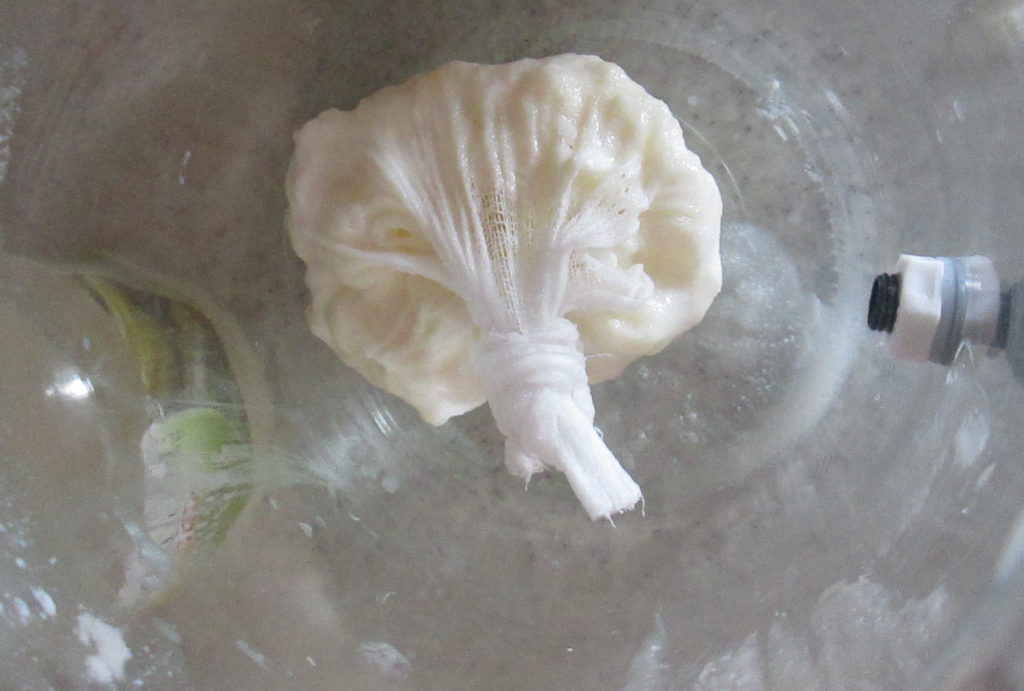
How to make a new batch of kefir?
Put the kefir-bag into a new, clean container and repeat the process by filling it with milk and sprinkling bee pollen. I only change the cloth around the kefir grains every week or so and that works quite well for me.
Tip: It is really unnecessary to rinse the grains but should you ever need to because you dropped it on the floor or a similar situation, never use hot water.
Other kefir tips:
- Kefir is good for most people who are lactose intolerant. The lactose is mostly gobbled up during the fermentation process which is great news if you are lactose intolerant and miss cheese and smoothies. (Do note the word ‘most’.)
- I use raw milk and I don’t boil it. Not boiling it maintains the maximum amount of good bacteria plus kefir grains thrive and grow much faster in raw milk. Just make sure the source (as in the cow & owners) is a good one. If you are using store-bought milk, only use full fat. Do not use UHT (ultra-pasteurized) or lactose-free milk.
- I haven’t tried this personally but you can also substitute cow milk for soy, almond, coconut or other types of non-dairy milk. The trick is to not keep switching as kefir grains are living organisms and adapt to the milk that you are using.
- Why sprinkle bee pollen? Bee pollen is another superfood loaded with proteins and enzymes and is usually very difficult to digest on its own but kefir pre-digests it for you so by the time you have it, it is easily absorbable. Plus, the kefir grains grow much faster so they must like it. So, why not?
- You kefir grains are alive and will grow in size. My rule is to gift it to people when there is enough to give away. When I gift it to them, I ask them to also pay it forward by gifting it to more people creating a happy, healthy kefir chain.
What does kefir taste like?
Similar to yoghurt. The upside is, like beige colored shoes, it goes well with everything.
My kefir snack here consists of bananas, strawberries, chia seeds and lots of cinnamon so my blood sugar levels don’t go haywire since I’m a recovering sugar addict and don’t use it anymore.
Enjoy it loves – I did 🙂

PS: Please check Dom’s website which is the best resource for all things kefir.
Some of the info here might conflict with the info there but, as with all things in life, make your own experiments and come to your own conclusions <3
Bon appetit!
UPDATE:
My kefir grains seemed to not be as healthy after a few weeks of being kept in the cloth bag, even though I changed it regularly. I wasn’t sure if this was from moving houses and having to change the cow we got our milk from but I’ve reverted to using a plastic strainer to separate the grains from the ready kefir and our grains are much happier now.
I will keep you posted on any new methods I come up with <3
